

Hello!
Thanks so much for visiting my portfolio of design projects.
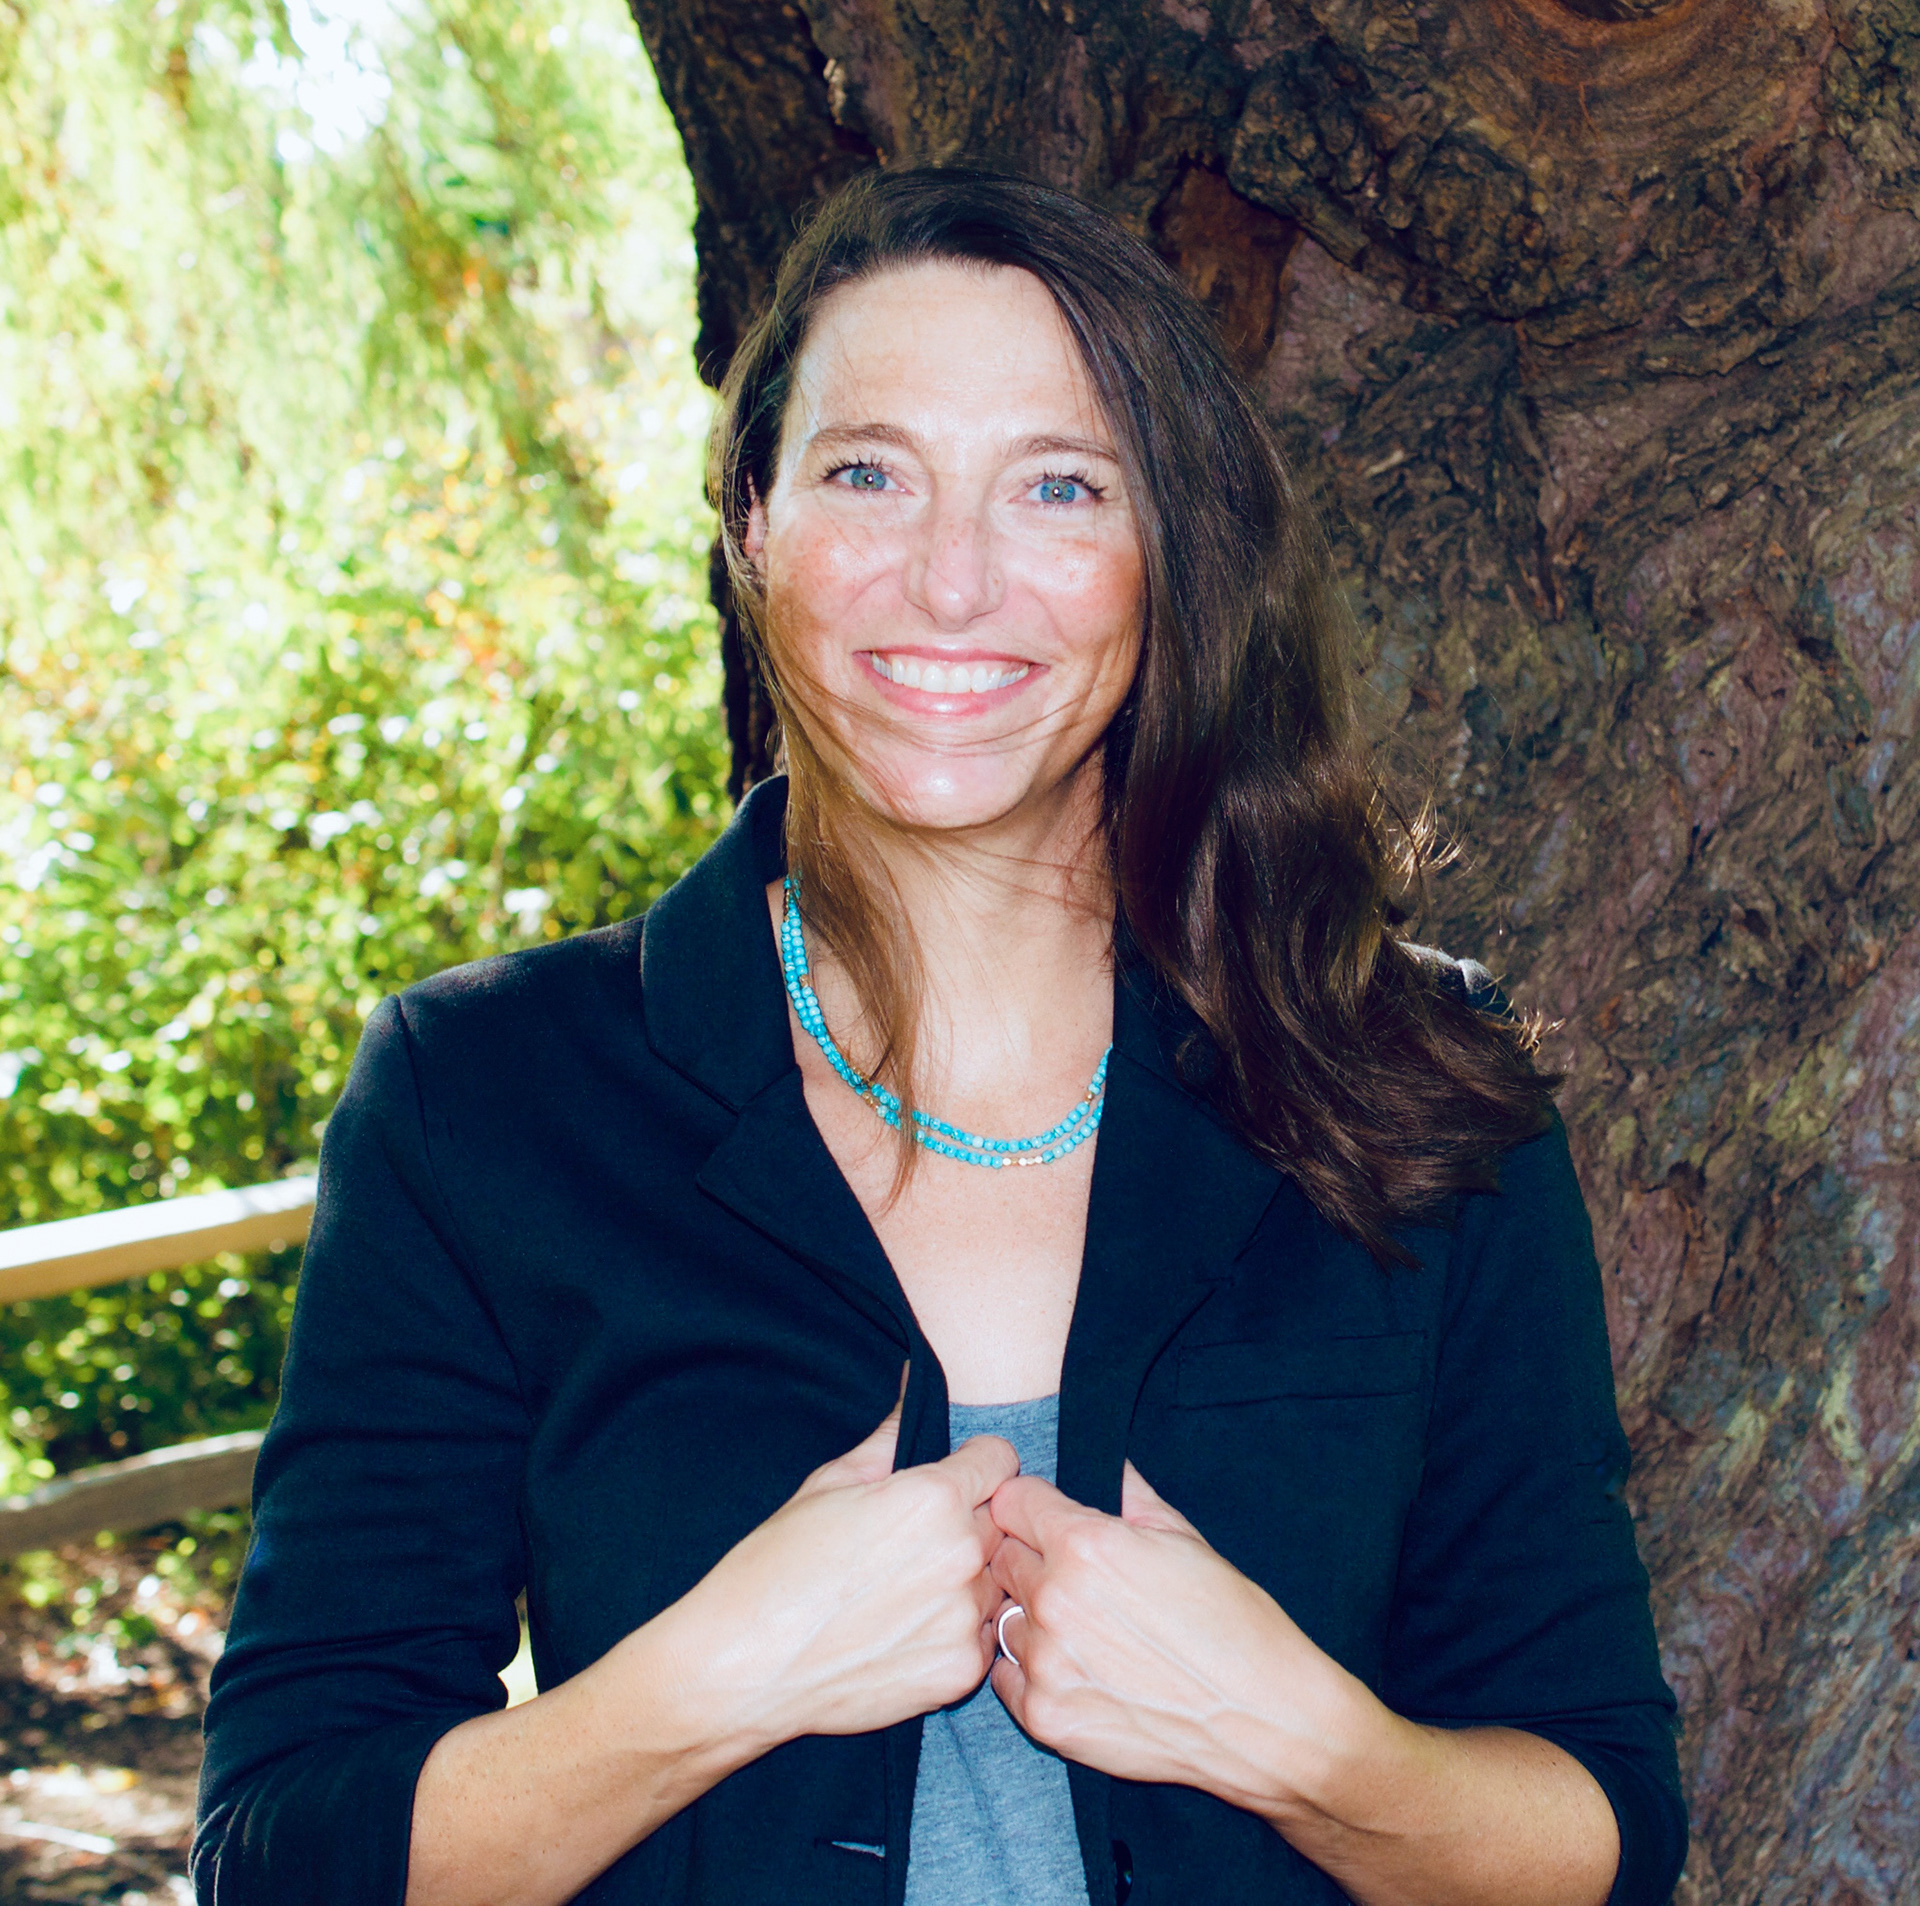
A little about me . . .
Live smack in between Lincoln Square and Andersonville–two northside neighborhoods of Chicago, Illinois.
Have an adorable and hilarious dog named Scout.
Favorite season is Summer.
Favorite trees are the willow trees at my nearby Winnemac Park.
Favorite nearby nature escape is the Urban Oasis of Chicago, Lurie Garden.
Favorite therapeutic outlets –swimming, at the pool, or in lake Michigan during the summers; watercolor doodling; calligraphy; foam roller stretch breaks.
Current professional-growth aspiration: take online courses focused on accessible design for logos and websites.
Current personal-growth aspiration: establish daily 5-minute meditation habit, and await the positive effects!
Ongoing Aspiration: aim for compassion and mutual understanding.
Road to Design . . .
Have worked in Higher Education and the Secondary Education industries, and in the past few years, I've been working for myself as a graphic designer!
Studied Psychology and Spanish as an undergrad at Lake Forest College. Later went on to study Secondary Education, and attained a Masters of Education from DePaul University. After adventures in teaching high school students, decided to return to a previous interest for human factor design. Thus, pursued Human Computer Interaction (HCI), as part of a master's program at DePaul University. Completed 8 courses, engaging in the many User Experience project-based assignments, and especially enjoyed collaborations with my classmates in small teams.
In 2015, on a whim, received my first freelance graphic design client through a friend's referral. I had previously worked o graphic design related projects in my previous job role at DePaul, and for my HCI coursework projects, but this was my first freelance project!
Ever since this first opportunity, have been focusing on growing my graphic design skills with every new client and with every new project that comes to me, from web to print. There's so much still to learn, and I want to keep it going!
Projects so far . . .
I've worked on page layouts for newsletters, ad books, print ads, social media ads, wedding stationary, hand-lettering/calligraphy, watercolor illustration, digital illustrations, graphics/print collateral for event marketing, and graphics for fundraising campaigns. I have yet to decide my design niche, but have enjoyed trying out a variety of design projects so far.
Looking Forward . . .
My current goals are to continue to grow and expand my graphic design skills as always, but also to begin to focus much more now on expanding my knowledge on the business of design, for entrepreneurship and self-employment. I'd like to find an opportunity to work for another creative business owner - to offer my skills and assistance to someone with a demanding work load, and also to learn from someone who is a little further down the road in their business ventures than I am.
Work with me!
Let's explore working together! Shoot me a hello at larkmills@gmail.com